
Picking up a new camera for the first time can feel like stepping into a cockpit — dials, menus, and cryptic abbreviations everywhere you look. Best Camera Settings for Beginners The truth is, you don’t need to understand every setting to start taking great photos. You just need to know which ones actually matter and how to use them together. This guide breaks down the best camera settings for beginners so you can stop shooting on auto and start making intentional creative choices, without getting lost in technical overwhelm.
Start with the Right Shooting Mode
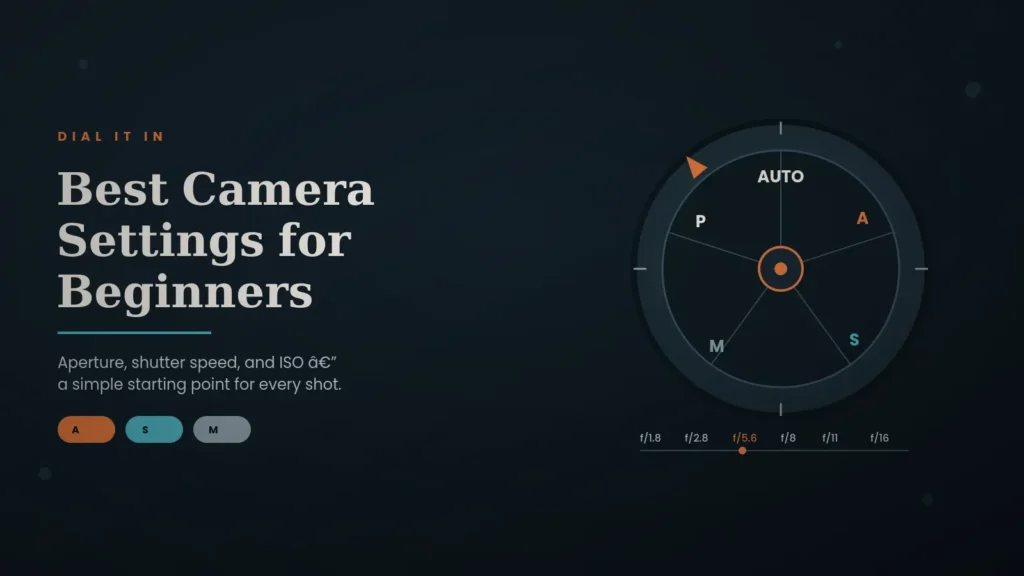
Before adjusting individual settings, choose a shooting mode that gives you partial control while still offering support. Most cameras include a mode dial with these key options:
- Auto mode — the camera controls everything; useful only while you’re learning your gear’s basic handling.
- Program mode (P) — the camera sets aperture and shutter speed, but you control ISO, flash, and white balance.
- Aperture Priority (A/Av) — you choose the aperture, and the camera adjusts shutter speed automatically.
- Shutter Priority (S/Tv) — you choose the shutter speed, and the camera adjusts aperture automatically.
- Manual mode (M) — you control everything, offering full creative freedom once you’re ready.
For most beginners, Aperture Priority is the best starting point. It lets you control depth of field — one of the most visually impactful settings — while the camera handles the more technical calculation of shutter speed.
Choosing the Right Aperture
Aperture controls how much light enters through the lens and directly affects depth of field. A lower f-number (like f/1.8 or f/2.8) creates a wide opening, letting in more light and producing that soft, blurred background often seen in portraits. A higher f-number (like f/8 or f/11) narrows the opening, keeping more of the scene in sharp focus — ideal for landscapes or group photos.
As a simple starting point: use f/1.8–f/2.8 for portraits, f/5.6–f/8 for everyday shooting, and f/11–f/16 for landscapes where you want everything in focus from foreground to background.
Understanding Shutter Speed for Different Scenes
Shutter speed determines how long your camera’s sensor is exposed to light, and it plays a major role in how motion is captured. Fast shutter speeds freeze action, while slower speeds introduce blur, whether intentional or accidental.
A helpful beginner rule: keep your shutter speed at least as fast as your focal length to avoid camera shake when shooting handheld. For example, if you’re using a 50mm lens, aim for a shutter speed of at least 1/50s. For sports or fast-moving subjects, push that up to 1/500s or faster. For creative long-exposure effects, such as light trails or silky water, you’ll want speeds of one second or slower, ideally paired with a tripod.
Getting Comfortable with ISO
ISO controls your camera sensor’s sensitivity to light. Lower ISO values (like 100 or 200) produce clean, noise-free images and work best in bright conditions. Higher ISO values (800, 1600, or beyond) brighten your image in low light but introduce visible grain or “noise.”
The general rule of thumb is to keep ISO as low as possible while still achieving a proper exposure. Only raise it when your aperture and shutter speed settings alone can’t let in enough light. Modern cameras handle higher ISOs impressively well, so don’t be afraid to raise it when the scene demands it — a slightly grainy photo is almost always better than a blurry or underexposed one.
Nailing White Balance and Focus Settings
White balance ensures colors look natural rather than too warm (orange) or too cool (blue). While Auto White Balance works well in most situations, learning the manual presets — daylight, cloudy, tungsten, fluorescent — gives you more consistent results, especially indoors under artificial lighting.
For focus, beginners should start with single-point autofocus rather than letting the camera choose focus automatically across the whole frame. This ensures your camera focuses precisely on your intended subject, such as a person’s eyes, rather than guessing based on the busiest part of the scene.
Shooting in RAW vs. JPEG
One decision that quietly affects everything downstream is your file format. JPEG files are compressed and ready to share immediately, but they leave little room for editing adjustments. RAW files capture significantly more image data, giving you far greater flexibility to correct exposure, white balance, and color in post-processing.
If storage space allows, shoot in RAW whenever possible — especially in tricky lighting situations. It essentially gives you a safety net for exposure or color mistakes that would otherwise ruin a JPEG shot.
A Simple Beginner Settings Cheat Sheet
If you’re still building confidence, here’s a practical starting combination to try in a few common scenarios:
- Outdoor portraits: Aperture Priority, f/2.8, ISO 100–200, Auto White Balance
- Indoor low light: Aperture Priority, f/1.8–f/2.8, ISO 800–1600
- Landscapes: Aperture Priority, f/8–f/11, ISO 100, tripod recommended
- Fast action/sports: Shutter Priority, 1/500s or faster, ISO adjusted for exposure
- Night or long exposure: Manual mode, shutter 1–10 seconds, ISO 100, tripod required
These aren’t rigid rules — they’re a reliable launchpad you can adjust as you develop your own eye for light and composition.
Read This
Photography Tips for Beginners: A Practical Guide to Taking Better Photos
Final Thoughts
Mastering the best camera settings for beginners isn’t about memorizing numbers; it’s about understanding how aperture, shutter speed, and ISO work together to shape light, motion, and focus. Start with Aperture Priority mode, learn how each setting affects your image, and don’t be afraid to experiment. The more you shoot with intention rather than relying on Auto mode, the faster your instincts will sharpen — and before long, choosing the right settings will feel like second nature rather than guesswork.
- Home Organization Ideas for Small Spaces: Declutter and Simplify Your Life
- How to Fix Common Household Problems Yourself: A Practical Homeowner’s Guide
- DIY Projects for Small Apartments: Creative Ways to Maximize Every Inch
- Budget-Friendly Home Improvement Projects That Actually Make a Difference
- How to Upcycle Old Furniture: Give Tired Pieces a Second Life